
PROCEDURES - inside the kit
We mainly do two vascular access procedures in the ICU: central lines and arterial lines.
Central Lines/vascaths
Central lines are what they sound like - a intravenous catheter in a central vessel (meaning closer to the heart). The lines in the small veins of the arm, in contrast, are peripheral IVs. Having a central line can be incredibly helpful for many reasons -

It is a secure line, harder to pull out (but definitely still possible)
The blood you are sampling is very close to the veins coming back to the heart, so you can get information about the heart that way
It is in a large vein (SVC/IVC) making it better for irrtative or vasoactive medications - think vasopressors, electrolytes, chemo, etc
There are many types of central lines you will see.

PICC - peripherally inserted central catheter; placed by the PICC team. It starts in the arm and runs all the way to the SVC. It is good for long term access (think - IV antibiotics for 6 weeks). It is also much more comfortable
“x”-lumen catheter - what we typically will call our “central lines” (i.e. - “I’m going to go place a central line” —> “I’m going to place a triple-lumen cathter”). One of the most common lines we place. The “x” is how many ports it has; typically it has one red port that can be used for central venous pressure. In Atlanta, there are quad lumens (four) and on southside there are triple lumens (three). Typically the more lumens you have = the higher the risk of infection
Lets say you need dialysis. Then you have two options for lines, one with a port and one without:
Vascath - consists of two large ports used for dialysis. There is no extra lumen to run meds through
Bard Power Trialysis or“Trialysis” - nurses call triple lumen catheters trialysis; we call vascaths w/an extra lumen a “trialysis”. This is just a vascath with a port to run meds through. It’s good for someone on dialysis and pressors.

Bard “Power Trialysis” catheter - comes in 15, 20 or 30 cm
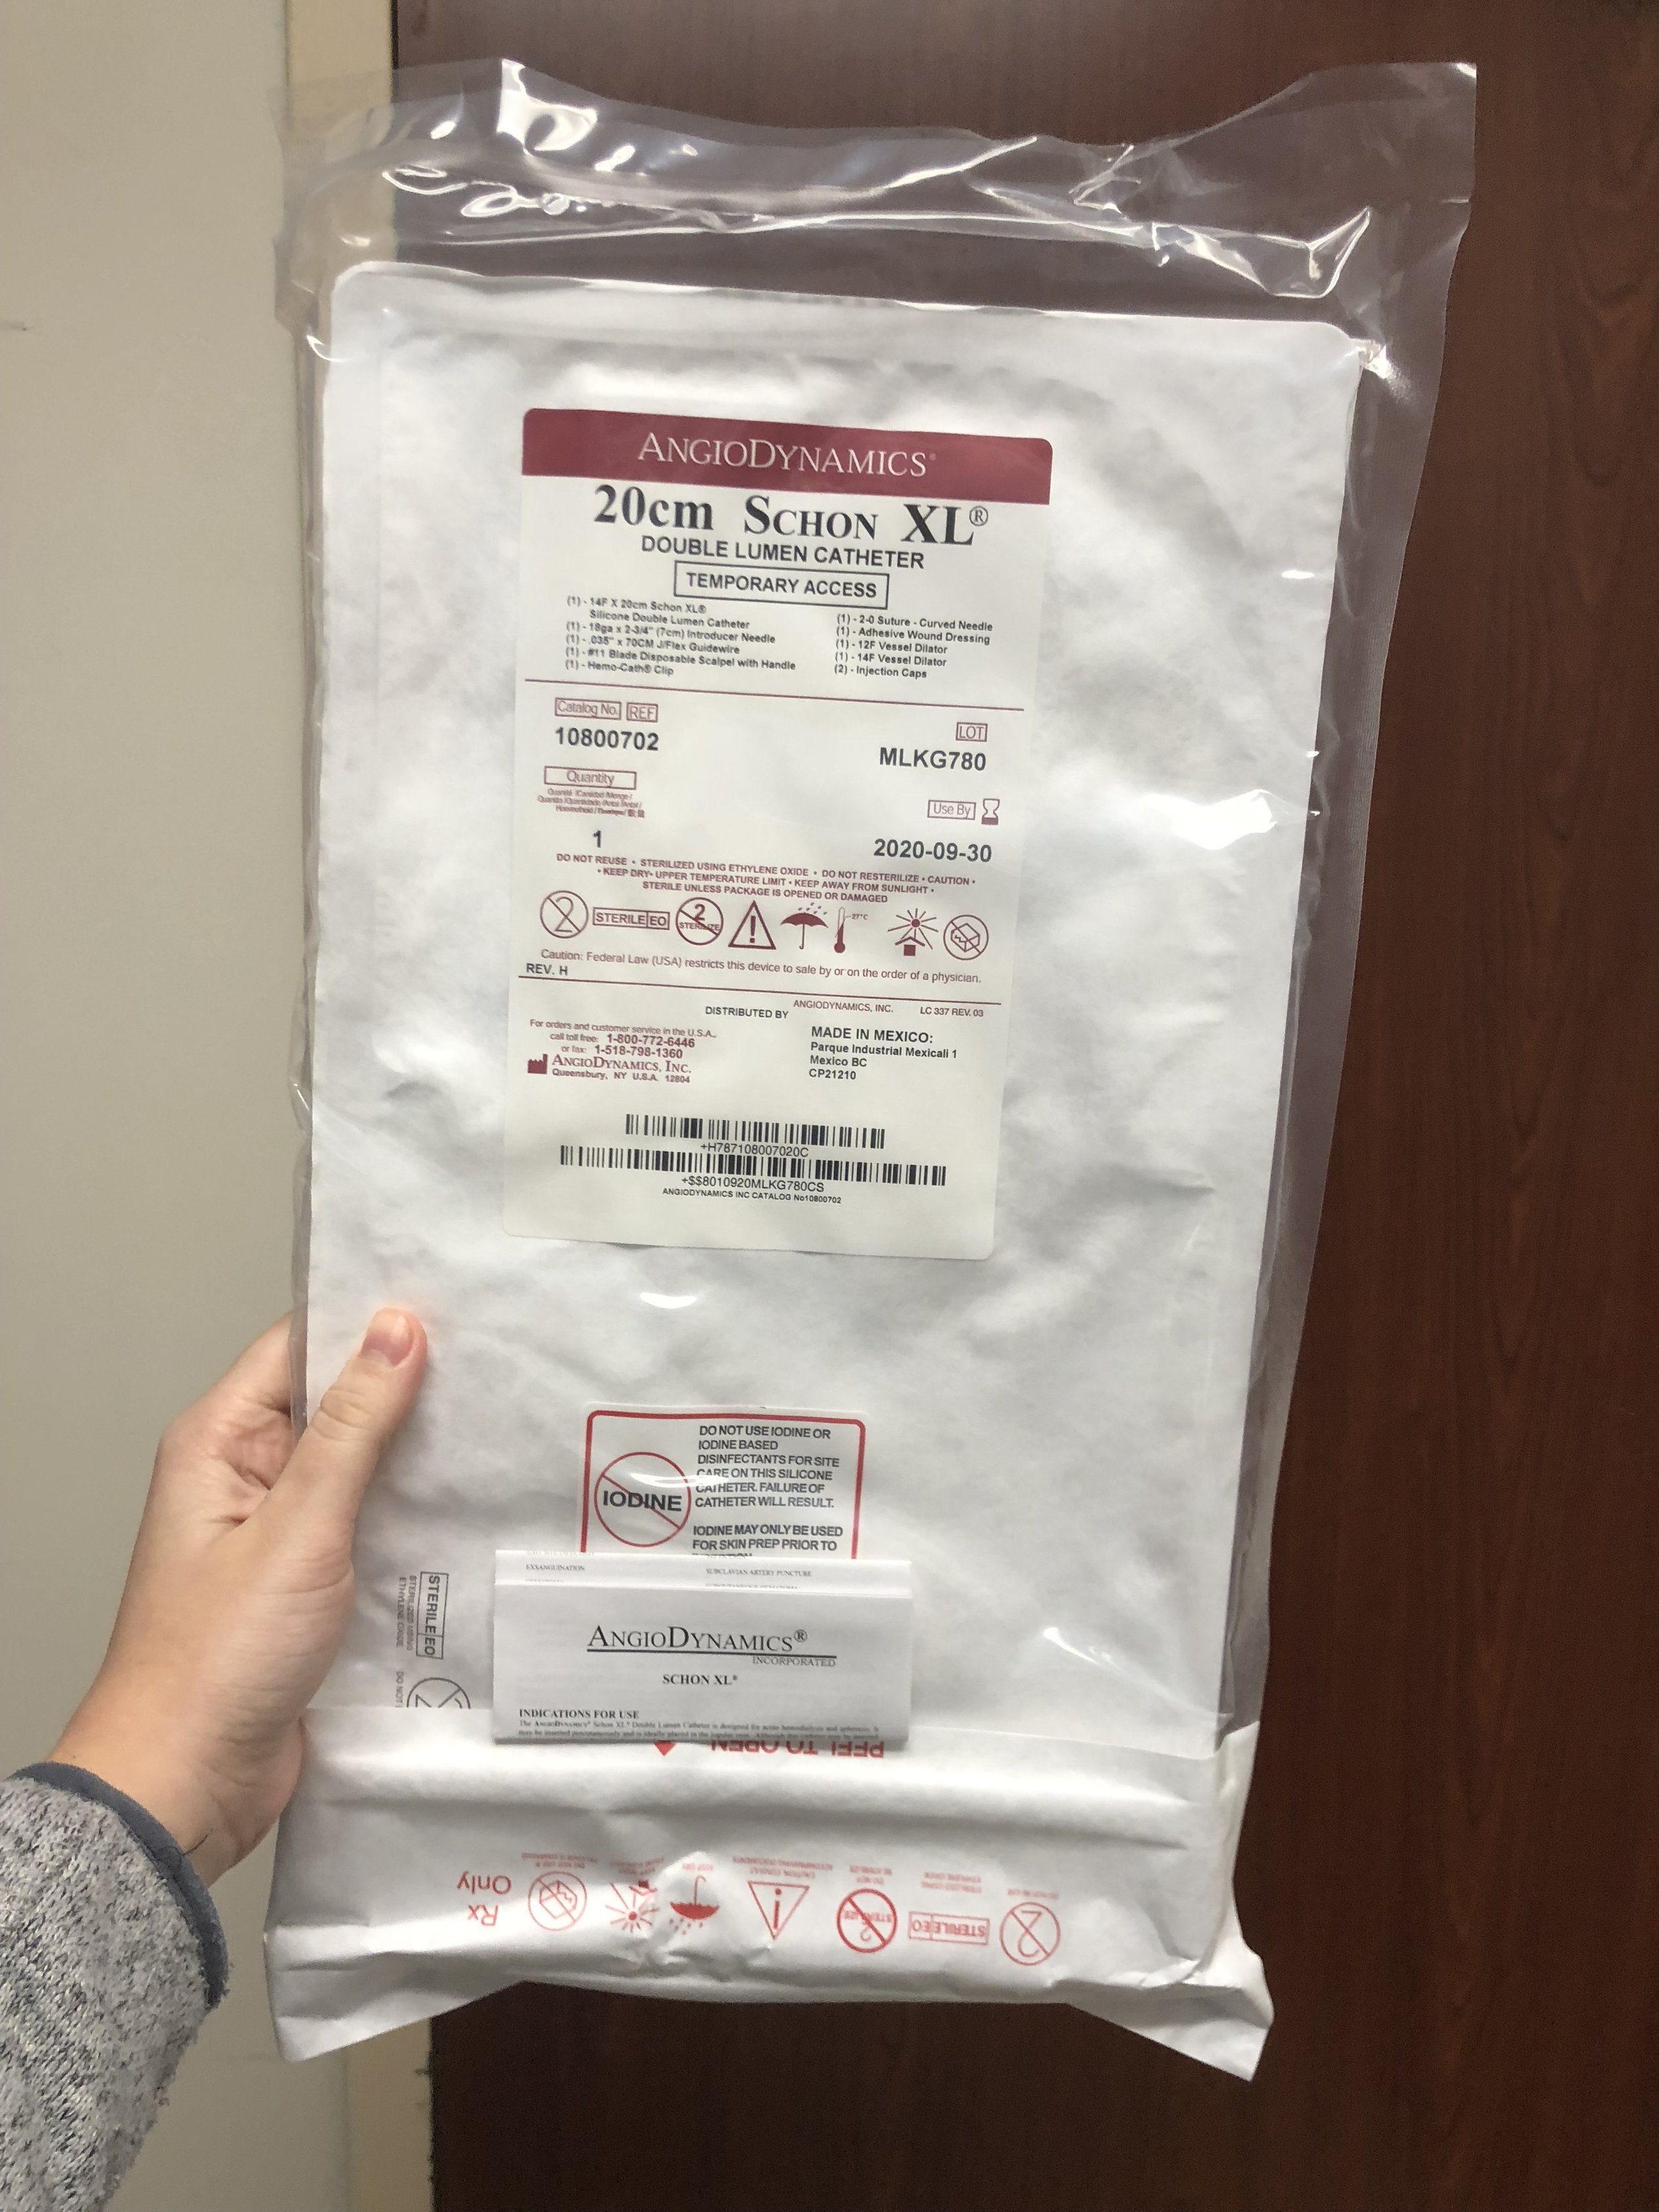
Vascath - comes in 15cm or 20cm

A “central line insertion tray” - the Bard and vascath kits listed above and pictured to the left do NOT come with the normal things, therefore you can get this kit with it to give you all the things
But where can you put it?

There are three sites:
Internal Jugular Vein - R or L
Femoral Vein - R or L
Subclavian Vein - R or L
RIJ is preferred for vascaths.
So I wanna do a triple lumen central line. What do I get from the cart?
Before you start the line you must get things that are not included in the kit. For students, you can get this for your preceptors.

You will need:
Central line kit - 20cm for left IJ/femoral 16cm for right IJ
Three claves/hub cap (they allow things to be pushed in but not to come out")
Stat lock - in the green package, to secure the line
Chloraprep - to clean the skin
Probe cover - to be able to make your ultrasound probe sterile
Dressing - to secure the line afterward
Biopatch - also often comes inside the kit; to put around your line afterward + keep cleaner
Sterile gloves in your size (not pictured)

The biopatch is used to help prevent line infection. We stock three sizes - the red (largest) is used for large bore lines such as a vascath or trialysis, the white (middle sized) is used for triple lumen or quad lumen catheters, and the blue (smallest) is used for a-lines
Inside a Central Line Kit

Central line with three lumens
Guidewire
Retractable scalpel
Needle w/Angiocath
Tissue dilator
Pressure tubing
Sterile gown
Finder needle w.syringe
Syringe with red-capped needle (good for drawing up lidocaine)
Needle good for injecting skin w/lidocaine
Biopatch
Needle holder (white foam)
Blood area (for squirting blood filled syringes)
Needle driver
Suture
Lidocaine with skin prep
Drape for patient
Extra dressing
Arterial Lines or “a lines”
Arterial lines have a lot of utility in the ICU. They are never an “emergency” line (unless you truly cannot get a blood pressure) but add a lot of value to the work-up and monitoring of a patient. Some benefits include -
You get a live, (for the most part) accurate blood pressure that changes by the second every time the blood hits the probe
This includes in patient who has a cardiac arrest - you can visually see if there is a pulse back
You are able to draw labs and ABGs from them - great for patients who are difficult arterial sticks
You can connect it to flotrack and know more about the heart and volume status
Where can I put it?
We primarily place them in the radial and femoral arteries. Under VERY rare + special circumstances they can be placed in the ulnar, brachial or axillary arteries. Never place an a-line in the carotid artery.
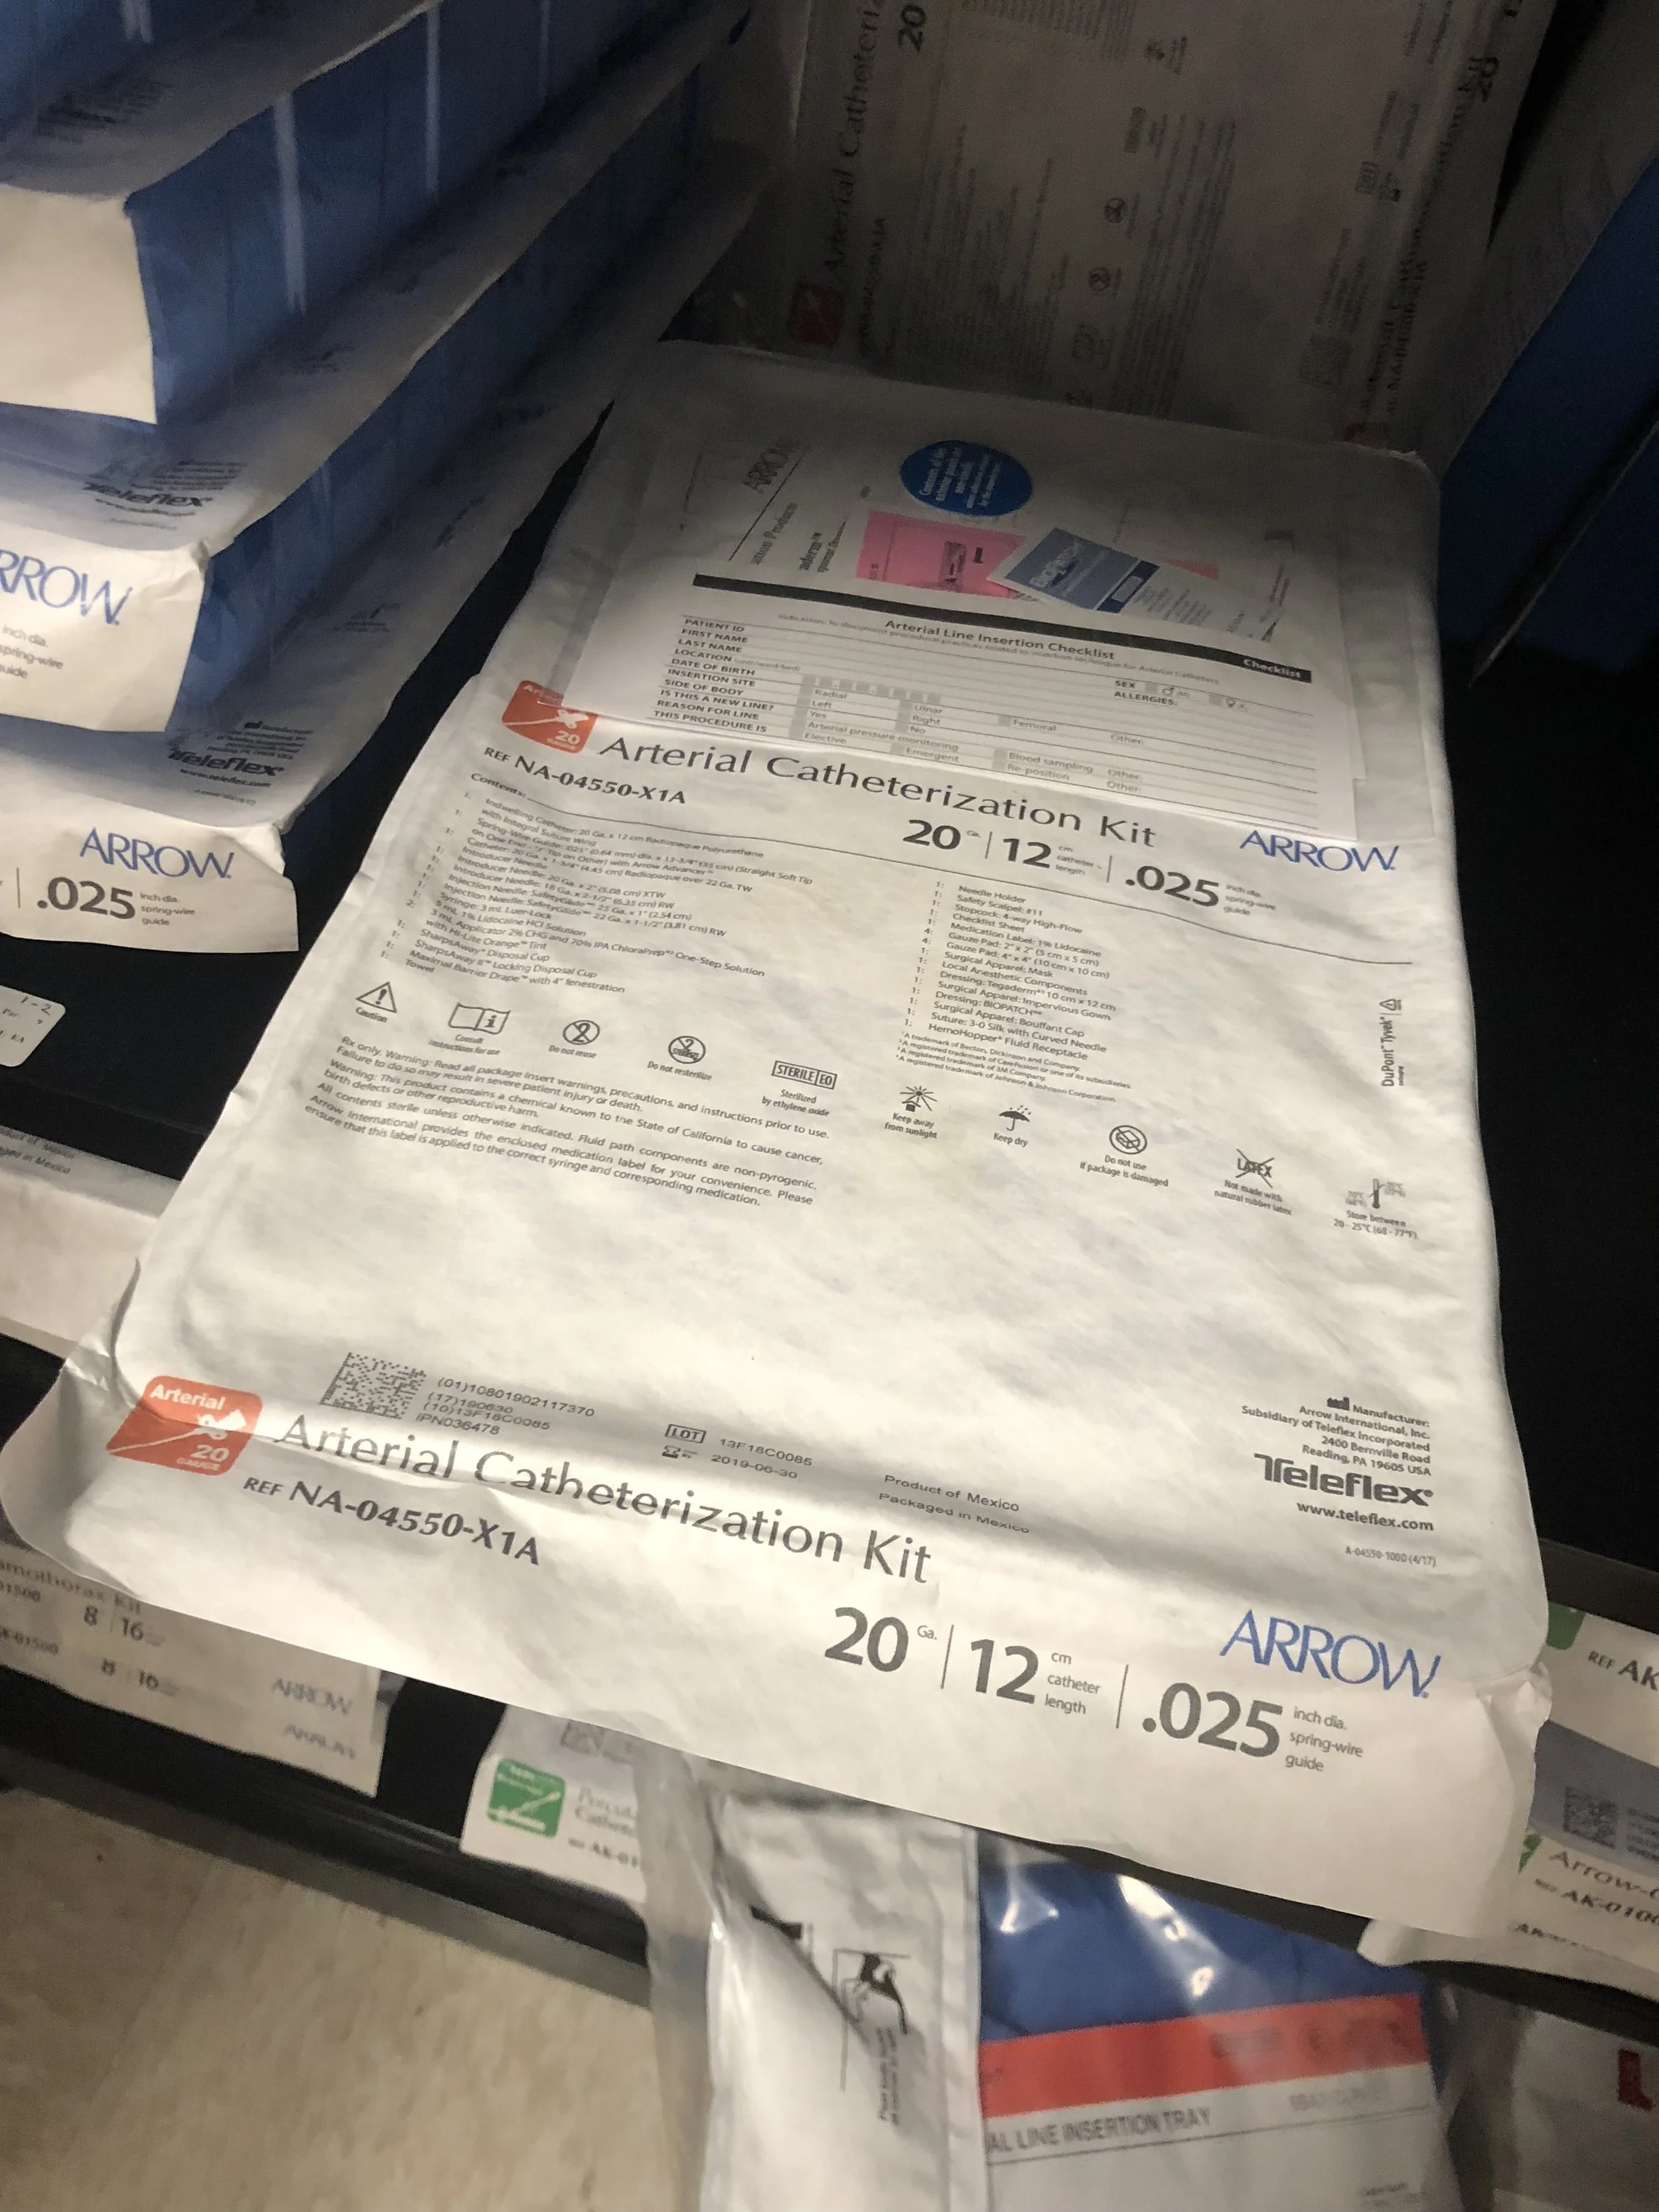
A femoral arterial line kit
So I wanna do a radial artery arterial line. What do I get from the cart?

Stat lock - in a red package
Probe cover - to be able to use your ultrasound sterile
Biopatch - smallest size; to keep line clean afterward
Tape - to tape down patients arm
Sterile Towels - to create your sterile field (the drape in the a-line kit can also be used but its very small)
Sterile gown - to get sterile
Chloraprep - to clean the patients skin
A-line kit - to do the actual a-line. For radial, only one size
Non-sterile flushes - must squirt into kit, cannot drop them onto kit
Sterile gloves in your size (not pictured)
Inside an Arterial Line Kit

How the kit appears when you open the package

Peel further (but stay sterile)… you’ll see a soft, spongy top square

Drape - to keep area sterile if you don’t use sterile towels (see above)
The wire - to do the seldinger technique
Suture - if you’d like to suture it in (not recommended)
Lidocaine - usually numbing the area is just as bad as the line but can be used if desired
Gauze - a-lines are bloody; to keep it clean
Long catheter - your actual “line” that stays in the patient
Angiocath - can be used as alternative “line”
Needle holder - to keep your sharps secure
Blood port - to squirt blood into when doing the line
Needle - to access the vessel
Blade - shouldn’t be used
Other Kits
You’ll see other kits in the ICU and supply room that are used for specific scenarios.

Cook Pneumothorax Kit - for PTX, user preference
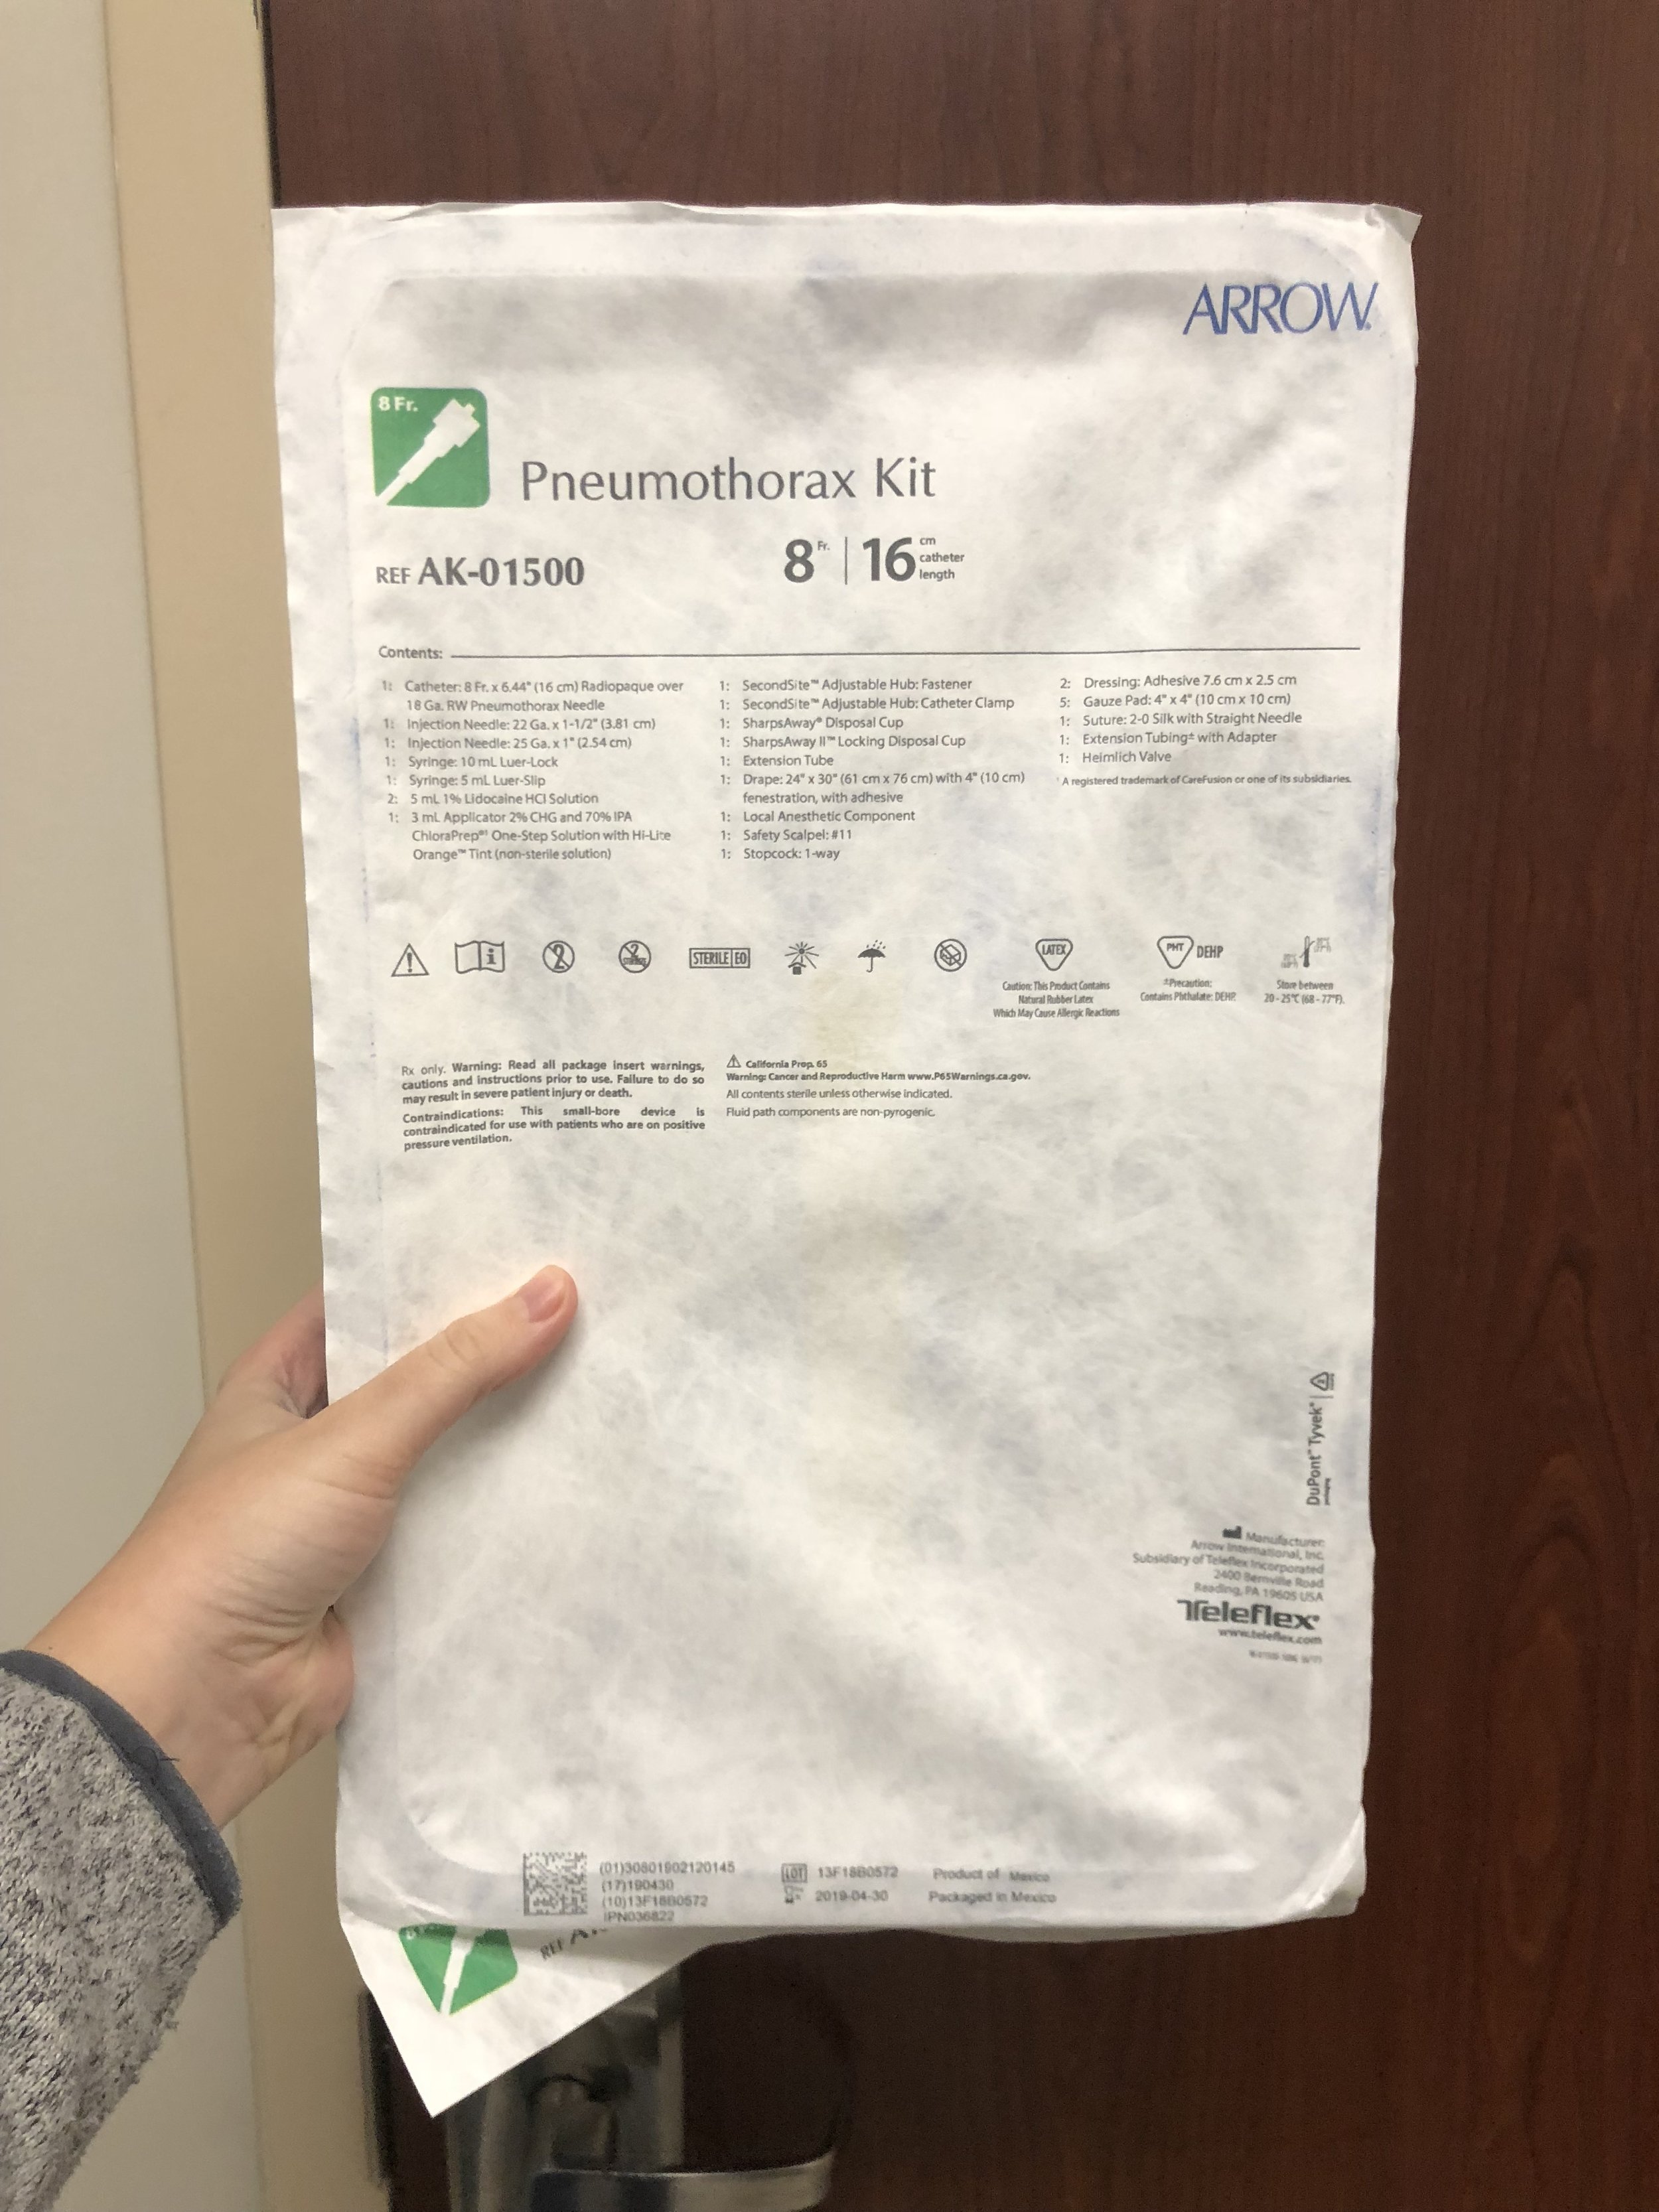
Arrow Pneumothorax Kit - for PTX, user preference

Blakemore Tube - used in massive variceal bleeds

Beside Perc Trach Kit - for emergency airways